Thursday, March 27, 2014

Pan Fried Tilapia

In the mood for fried fish, but don't want the hassle and grease of deep frying? I love the crunchy texture of fried food, but hate the greasy mess. My cooking life was changed for the better when I discovered pan frying. Way less oil, same great taste!


Pan Fried Tilapia

Cooking Ingredients:

2 tilapia fillets
2 tbs soy sauce
1 tbs milk
1/4 cup bread crumbs
1 tbs cut oats (to add that crunchy texture, for a less healthy option try crushed corn flakes)
1 tsp seasoned salt (I prefer Tony's)
2 tbs olive oil
*(side note: when cooking one of my own creations I don't really measure things, which makes it hard to share the recipe with others - oops - so these measurements are approximations)*

Cooking Directions:

1. Heat olive oil in skillet over medium high heat. Marinate fillets in soy sauce and milk while oil is heating.

2. Combine bread crumbs, oats, and seasoned salt in a plastic bag. One at a time, place fillets in the bag and shake to cover with the mixture.

3. Cook the fillets on the stove until golden brown on both sides (about 5 minutes each side, depending on how thick your fillets are).


P.S. For my asparagus recipe hop on over to The Pioneer Woman here. Super simple!

Wednesday, March 19, 2014

Tortilla Rollups

Here's a fun twist for mexican night: Tortilla Rollups. The original recipe is from The Weekend Gourmet and can be found here. Feel free to mix it up and add what you like, take out what you don't, and let me know how your version turns out!


Tortilla Rollups


Cooking Ingredients:

1lb ground beef or shredded chicken
1/2 can whole kernel corn
1/2 can black beans
1 cup shredded cheese (I used a mexican blend, but feel free to use your favorite)
1 cup plain greek yogurt
1/2 cup salsa
1tsp cumin
1/2 tsp salt
the juice from 1 lime

8-1o flour tortillas
olive oil
chili powder


Cooking Directions:

1. Spray your baking pan with cooking spray (super important step that I forgot and you will see the disastrous result below!)

2. Brown your ground beef (or cook and shred your chicken). Mix together with corn, beans, cheese, yogurt, salsa, cumin, salt, and lime juice.

3. Place 1/2 cup of the above mixture onto a tortilla and roll up. Place roll ups in a baking pan seam side down. Continue until you use up all of your mix.

4. Brush olive oil on your roll ups, then sprinkle with chili powder.

5. Bake in a 400 degree oven for 5 minutes. Flip, coat with olive oil and sprinkle with chili powder, then bake for another 5 minutes. (I added a little extra cheese to a couple when I pulled them out of the oven, because the hubs loves cheese).


These rollups are very simple and very delicious. Plus, they make great leftovers!

But, please, remember to spray your pan first! Otherwise, you will end up with pieces of rollups… like I did in one of my pans.


P.S. I've made these before with shredded chicken instead of ground beef (actually I use ground venison) and they are just as tasty. Enjoy!

Wednesday, March 12, 2014

Rotisserie Chicken Crockpot Style

Grab six dollars. Go to Aldi (my favorite grocery store of choice). Pick up a whole chicken and a pack of dry onion soup mix. Go home and put them both in the crock pot. Wait six hours. Devour.

You are welcome.


Crockpot Rotisserie Chicken


Cooking Ingredients:

small whole chicken
package dry onion soup mix
aluminum foil


Cooking Directions:

1. Ball up five small balls of aluminum foil and place in the bottom of the crockpot.

2. Rinse the chicken, pat dry, and place in the crockpot on top of the aluminum foil.

3. Cover the chicken with the soup mix. Cook on high for six hours.


So inexpensive. So juicy. So easy.


Again, you are welcome.

Tuesday, October 22, 2013

Meat and Potatoes


Cooking my way through The Pioneer Woman Cooks: Recipes from an Accidental Country Girl, and stumbled upon this delicious recipe for "Comfort Meatballs". In her cookbook, Ree explains she "came across these puppies when a fellow rancher wife brought them over shortly after she had her third child. Nursing mother, mother to be, or just a hungry guy or gal, these meatballs are sure to satisfy!"

Comfort Meatballs
Courtesy of Ree Drummond

Cooking Ingredients:
1 1/2 pounds ground beef
3/4 cup quick oats
3 tablespoons very finely minced onion
1 1/2 teaspoon salt
plenty of ground pepper

4 tablespoons canola oil
1/2 cup flour

1 cup ketchup
2 tablespoons sugar
3 tablespoons distilled white vinegar
2 tablespoons Worcestershire sauce
4 to 6 tablespoons minced onion
dash of tabasco (optional)

Note: I only used 1/2 pound ground beef and cut the remainder of the recipe in half to feed the hubs and myself.

Cooking Directions:

1. In a bowl combine the ground beef, oats, onion, salt, and ground pepper. Stir with a large wooden spoon to combine.

2. Roll the mixture into tablespoon sized meatballs and place on a cookie sheet. Place in the freezer for about ten minutes to firm.

3. After removing from the freezer, dredge each meatball in flour. Brown the meatballs in oil over medium heat, just until brown on either side, then place in a glass baking dish.

4. In a small bowl mix together remaining ingredients and pour over meatballs.

5. Bake at 350 degrees for 45 minutes.


Totally delicious! Serve these alongside mashed potatoes and green beans and your supper is served.

Sunday, July 21, 2013

Grilled Tilapia w/Veggie Pasta

Yay for experimenting with food besides chicken! The hubs loves seafood. Me, not so much. In an effort to expand my cooking skills and creativity while pleasing the hubs' palate, I have come to like appreciate tilapia. Recently, I've tried to incorporate it into our meals at least once a week.

Tilapia is a white fish and doesn't have a strong "fishy" taste. That means I don't have to cover its natural taste with a bunch of seasoning. Instead I try to enhance the natural flavor with only a pinch of seasoning.


This week's experiment involved a favorite of mine: pasta! Basically, I just took a bunch of things I found on hand in the kitchen and threw them together hoping for the best. It turned out pretty well, thankfully.

Unfortunately, I don't do a lot of measuring when I'm making up my own recipes so the following measurements are approximate guesses for two servings.


Grilled Tilapia w/Veggie Pasta

Cooking Ingredients:
2 fresh tilapia filets
1/4 cup soy sauce
1 teaspoon seasoned salt (I prefer Tony's)

2 servings angel hair pasta
1 tablespoon butter
1 tablespoon sour cream
1/4 cup milk
1/4 cup grated parmesan cheese
1/4 cup shredded mozzarella cheese

2 cups frozen vegetables (I prefer a California medley - carrots, brocoli, and cauliflower)

Cooking Directions:
1. Marinate tilapia fillets in soy sauce and seasoned salt for at least 10 minutes. Grill until no longer pink (I love using my George Forman grill, only takes about 4 minutes!).

2. Boil pasta according to package directions. Drain and set aside.

3. Melt butter and sour cream in a medium skillet over medium low heat. Pour in milk and combine until boiling. Add in cheese and stir to melt. Mix in pasta.

4. Microwave vegetables and a tablespoon of water in a glass bowl on high for 5 minutes. Drain and stir into pasta and sauce.


This meal was easy and quick. Two things I love for my recipes to be! There was just enough flavor and variety, plus there was a little pasta left over for lunch the next day, which is always a plus in my book. Try it out and let me know what you think!


Thursday, July 18, 2013

Pioneer Woman Macaroni & Cheese

Hello comfort food! Who doesn't love good ol' homemade mac and cheese?! I know this girl could live on it for days. And I'm not talking about the blue box stuff, I mean the good, gooey, made from scratch kind.

Ree Drummond, aka The Pioneer Woman, has the perfect recipe to get the job done (visit her site for a fantastic picture step by step).

Macaroni & Cheese
(Courtesy of the Pioneer Woman)

Cooking Ingredients:
4 cups dried macaroni
1 egg
4 tablespoons butter
1/4 cup all purpose flour
2 1/2 cups milk
2 teaspoons dry mustard
1 pound grated cheese
1/2 teaspoon salt
1/2 teaspoon pepper
1/2 teaspoon seasoned salt

Cooking Directions:
1. Cook macaroni al dente.

2. Beat egg in a small bowl. Melt butter in a large pot and sprinkle with flour, whisking together over medium-low heat for 5 minutes. Keep whisking continuously to avoid burning.

3. Stir 1/4 butter mixture into egg, whisking to avoid cooking the egg. Add egg mixture into large pot. Stir until smooth.

4. Add in cheese, stir to melt. Add seasonings.

5. Pour in drained macaroni and stir all together. Pour into a large casserole dish and top with remaining cheese. Bake at 350 degrees for about 20 minutes, until cheese is bubbly and browning.


I made this for our family 4th of July cook out and it was a major hit! Greedily I was able to bring home just enough left overs for dinner the next night, and the hubs and I made a meal of it!

Thursday, July 11, 2013

Kitchen Upgrade


It's hard to believe that the hubs and I have owned our home for coming up on four years. And for the past, oh, let's say three years, we've both wanted to upgrade the kitchen by adding a backsplash. It's hard to fry chicken without a little bit of oil popping out of the pan and landing on the wall behind the stove. Needless to say, the wall space below the cabinets is a bit difficult to keep clean and pretty when it's only painted.

Two months ago while I was in Texas for a friend's wedding, the hubs decided it was time to stop talking and start doing. So all on his own he went to the tile store and picked out and purchased a box of tiles for the kitchen backsplash. (He got lucky, I actually liked his selection). However, that's as far as the project went. That box of tiles sat on the kitchen counter all by their lonesome until July 4th weekend.

I was quite tired of staring at that box of tiles and tired of debating wether we should install them ourselves or have a professional do it. Enter the rain. See, we've had an unusually wet summer down here in Georgia and the week of July 4th was no exception. Rain. every. day. So the hubs and I made a deal, since it was too wet outside for us to do anything fun we would tackle a house project. He had a four day weekend and we had a kitchen to conquer.

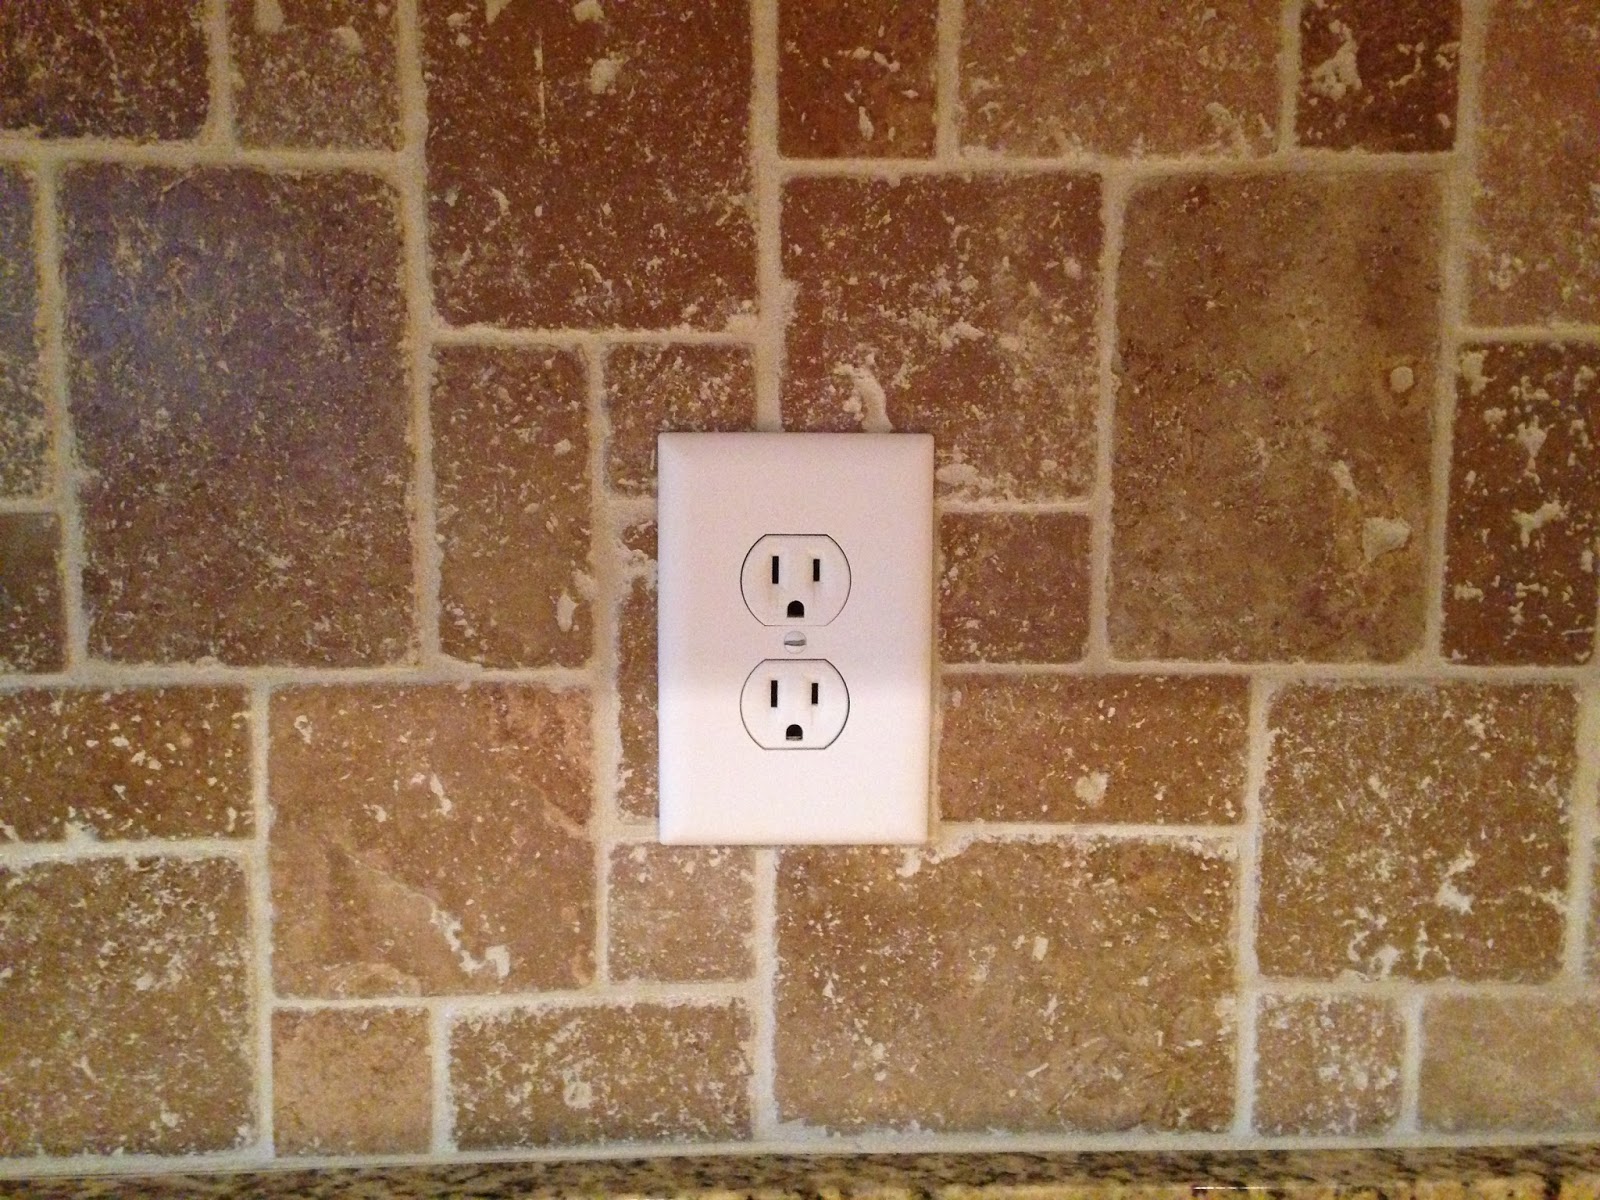
Four trips to the tile store, three rounds at two different Home Depots, and six days later we have a freshly upgraded kitchen with a lovely slate tile backsplash! And I'm quite proud to say that we did it all ourselves. Turns out the hubs and I make a pretty decent DIY team (thanks to the assistance of some YouTube videos).

I am beyond thrilled to have this job finished. The kitchen, my favorite room in the house and where I spend about 90% of my waking hours at home, has a whole new feel to it. It just leaves me asking one question: why on earth did we wait so long?!


Here's the before shot. Nice enough, but nothing special.


It took us two days to get the tile on the wall (we didn't start until after 4pm the first day). Then it had to set for 24 hours before we could apply the grout.


There were so many tiny cuts to make around the windowsill and seven outlets and light switches.


The Hubs was a pro at using the wet saw by the time we were finished! Just look at those perfect cuts.


Once the grout was applied we had to wait another 48 hours before applying the sealant.


Once the sealant was applied it was just a short 12 hours before the whole project was finished.


So happy with how it turned out!