Sunday, July 21, 2013

Grilled Tilapia w/Veggie Pasta

Yay for experimenting with food besides chicken! The hubs loves seafood. Me, not so much. In an effort to expand my cooking skills and creativity while pleasing the hubs' palate, I have come to like appreciate tilapia. Recently, I've tried to incorporate it into our meals at least once a week.

Tilapia is a white fish and doesn't have a strong "fishy" taste. That means I don't have to cover its natural taste with a bunch of seasoning. Instead I try to enhance the natural flavor with only a pinch of seasoning.


This week's experiment involved a favorite of mine: pasta! Basically, I just took a bunch of things I found on hand in the kitchen and threw them together hoping for the best. It turned out pretty well, thankfully.

Unfortunately, I don't do a lot of measuring when I'm making up my own recipes so the following measurements are approximate guesses for two servings.


Grilled Tilapia w/Veggie Pasta

Cooking Ingredients:
2 fresh tilapia filets
1/4 cup soy sauce
1 teaspoon seasoned salt (I prefer Tony's)

2 servings angel hair pasta
1 tablespoon butter
1 tablespoon sour cream
1/4 cup milk
1/4 cup grated parmesan cheese
1/4 cup shredded mozzarella cheese

2 cups frozen vegetables (I prefer a California medley - carrots, brocoli, and cauliflower)

Cooking Directions:
1. Marinate tilapia fillets in soy sauce and seasoned salt for at least 10 minutes. Grill until no longer pink (I love using my George Forman grill, only takes about 4 minutes!).

2. Boil pasta according to package directions. Drain and set aside.

3. Melt butter and sour cream in a medium skillet over medium low heat. Pour in milk and combine until boiling. Add in cheese and stir to melt. Mix in pasta.

4. Microwave vegetables and a tablespoon of water in a glass bowl on high for 5 minutes. Drain and stir into pasta and sauce.


This meal was easy and quick. Two things I love for my recipes to be! There was just enough flavor and variety, plus there was a little pasta left over for lunch the next day, which is always a plus in my book. Try it out and let me know what you think!


Thursday, July 18, 2013

Pioneer Woman Macaroni & Cheese

Hello comfort food! Who doesn't love good ol' homemade mac and cheese?! I know this girl could live on it for days. And I'm not talking about the blue box stuff, I mean the good, gooey, made from scratch kind.

Ree Drummond, aka The Pioneer Woman, has the perfect recipe to get the job done (visit her site for a fantastic picture step by step).

Macaroni & Cheese
(Courtesy of the Pioneer Woman)

Cooking Ingredients:
4 cups dried macaroni
1 egg
4 tablespoons butter
1/4 cup all purpose flour
2 1/2 cups milk
2 teaspoons dry mustard
1 pound grated cheese
1/2 teaspoon salt
1/2 teaspoon pepper
1/2 teaspoon seasoned salt

Cooking Directions:
1. Cook macaroni al dente.

2. Beat egg in a small bowl. Melt butter in a large pot and sprinkle with flour, whisking together over medium-low heat for 5 minutes. Keep whisking continuously to avoid burning.

3. Stir 1/4 butter mixture into egg, whisking to avoid cooking the egg. Add egg mixture into large pot. Stir until smooth.

4. Add in cheese, stir to melt. Add seasonings.

5. Pour in drained macaroni and stir all together. Pour into a large casserole dish and top with remaining cheese. Bake at 350 degrees for about 20 minutes, until cheese is bubbly and browning.


I made this for our family 4th of July cook out and it was a major hit! Greedily I was able to bring home just enough left overs for dinner the next night, and the hubs and I made a meal of it!

Thursday, July 11, 2013

Kitchen Upgrade


It's hard to believe that the hubs and I have owned our home for coming up on four years. And for the past, oh, let's say three years, we've both wanted to upgrade the kitchen by adding a backsplash. It's hard to fry chicken without a little bit of oil popping out of the pan and landing on the wall behind the stove. Needless to say, the wall space below the cabinets is a bit difficult to keep clean and pretty when it's only painted.

Two months ago while I was in Texas for a friend's wedding, the hubs decided it was time to stop talking and start doing. So all on his own he went to the tile store and picked out and purchased a box of tiles for the kitchen backsplash. (He got lucky, I actually liked his selection). However, that's as far as the project went. That box of tiles sat on the kitchen counter all by their lonesome until July 4th weekend.

I was quite tired of staring at that box of tiles and tired of debating wether we should install them ourselves or have a professional do it. Enter the rain. See, we've had an unusually wet summer down here in Georgia and the week of July 4th was no exception. Rain. every. day. So the hubs and I made a deal, since it was too wet outside for us to do anything fun we would tackle a house project. He had a four day weekend and we had a kitchen to conquer.

Four trips to the tile store, three rounds at two different Home Depots, and six days later we have a freshly upgraded kitchen with a lovely slate tile backsplash! And I'm quite proud to say that we did it all ourselves. Turns out the hubs and I make a pretty decent DIY team (thanks to the assistance of some YouTube videos).

I am beyond thrilled to have this job finished. The kitchen, my favorite room in the house and where I spend about 90% of my waking hours at home, has a whole new feel to it. It just leaves me asking one question: why on earth did we wait so long?!


Here's the before shot. Nice enough, but nothing special.


It took us two days to get the tile on the wall (we didn't start until after 4pm the first day). Then it had to set for 24 hours before we could apply the grout.


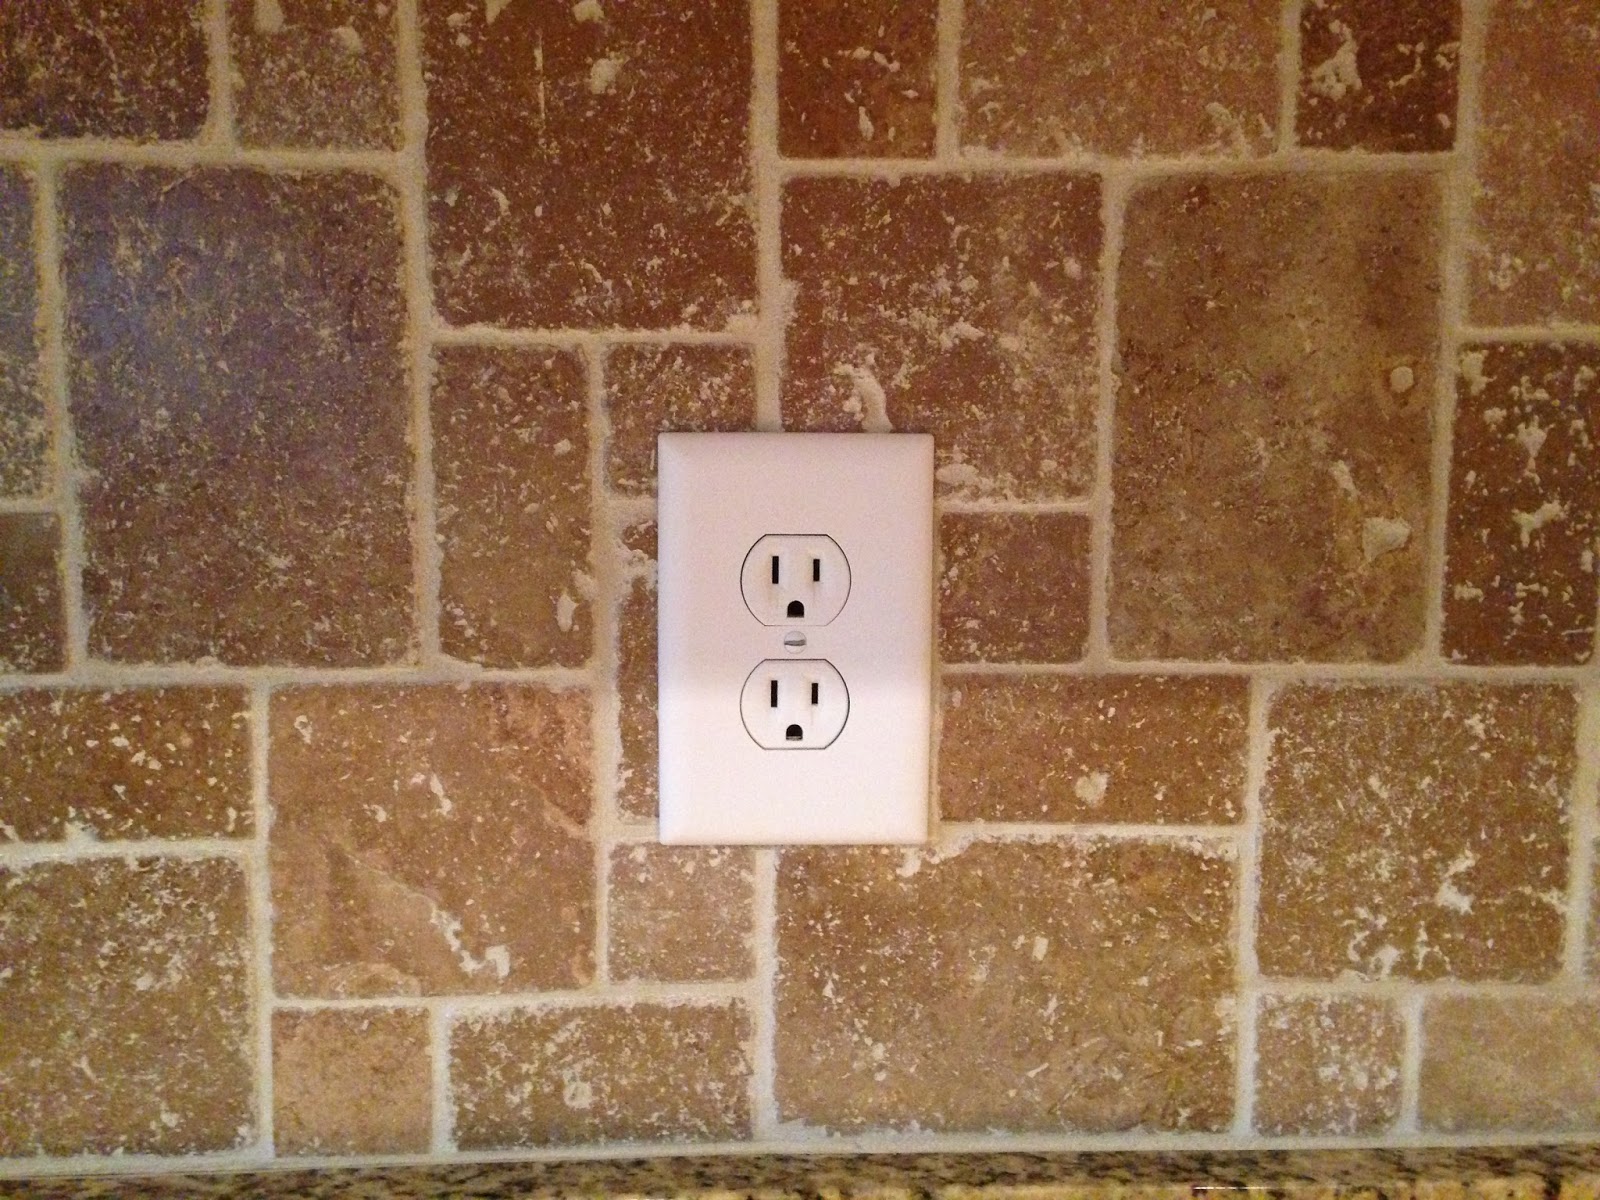
There were so many tiny cuts to make around the windowsill and seven outlets and light switches.


The Hubs was a pro at using the wet saw by the time we were finished! Just look at those perfect cuts.


Once the grout was applied we had to wait another 48 hours before applying the sealant.


Once the sealant was applied it was just a short 12 hours before the whole project was finished.


So happy with how it turned out!


Saturday, July 6, 2013

Whole Wheat Pancakes (For 2!)

I'm back!

I've been away from the blog for a while because life, well, was life, and things more important took priority over my recipes. But now that things have settled back to normal I'm excited to start mixing things up again.

To start things off I found this delicious pancake recipe on Pinterest. I made them Fourth of July morning (since the Hubs was actually home to eat breakfast with me!) and we gobbled them up before the butter could melt.

I'm trying to cut processed foods out of my cooking as much as possible and I've fallen back in love with anything whole wheat (I've already made whole wheat chocolate chip cookies and banana bread!). So naturally when I came across whole wheat pancakes I was in! Here's the recipe from Pinch of Yum.

Whole Wheat Pancakes

Ingredients:
1 egg
2 tablespoons brown sugar
2 tablespoons canola oil
1 teaspoon vanilla extract
3/4 cups buttermilk
1 cup whole wheat flour
1 tablespoon baking powder (I didn't have any on hand so I substituted 1 teaspoon baking soda)
1/2 teaspoon salt
2 tablespoons water

Cooking Directions:
1. Whisk together egg and brown sugar until smooth. Add in the oil, vanilla and buttermilk and whisk for another 15 seconds until combined.

2. Add in the flour, baking powder, and salt and stir just until combined. Add in the water until your batter is slightly runny.

3. Depending on the size you want your pancakes to be, pour approximately 1/4 cup of batter onto a hot griddle/pan over medium to low heat. Let sit until the edges are firm to the touch, then flip until each side is a nice golden brown.

4. Remove from pan, top with butter (and maybe a little maple syrup) and enjoy!


(Photo Credit: Pinch of Yum)

Monday, July 30, 2012

Buffalo Chicken Quesadilla

Working 40 hours a week in retail, you don't always have the time or opportunity to cook a full meal. Enter the quesadilla. Great for a quick throw together lunch or supper.

Ingredients (for 2 quesadillas):

4 flour fajita shells
1 can chunk chicken breast
3 tablespoons Texas Pete buffalo sauce (or your favorite buffalo sauce)
1 cup shredded cheese (or if you don't have any on hand just use 4 slices of american singles)

Cooking Directions:

1. Heat a small pan on medium high heat. While the pan is heating up, mix together the chicken and buffalo sauce in a small bowl.

2. Place one fajita shell in center of pan. Cover shell in cheese. Add half of chicken. Add a little more cheese and top with another shell.

3. Brown both sides of quesadilla until cheese is melted on the inside. Remove from heat and cut into halves (or quarters if you prefer).

There you have it! Just add a side salad and some chips and salsa and you have dinner in a bout 5 minutes that includes protein, dairy, bread, and vegetables. Not too shabby (and cheap too!).

Friday, March 30, 2012

Crispy Italian Chicken and Pasta

A thousand apologies that I haven't posted in ages!! I've started a new job that has me working more than ever before and I've allowed it to be my excuse from getting on the computer as often as I used to. But alas, I am back and with the absolute best pan fried chicken that I have ever made, or even tasted.

The following is a Pinterest recipe that I have been wanting to try for months, but just hadn't gotten around to it. So when planning out my meals for the week I was determined that this one was finally going to make the list. And I'm so glad that it did!

(Just as a side note: I cut the entire recipe in half and it was the perfect portion for the hubs and me)

Crispy Chicken with Creamy Italian Sauce and Bowtie Pasta
(thanks to Jamie Cooks It Up!)

Cooking Ingredients:
3 large chicken breasts
5 cups cornflakes (if you don't typically eat cornflake cereal and don't feel like buying an entire box just for this recipe - I sure didn't! - then just get the single serve breakfast bowls of cereal that they have for like $1. 1 serving was plenty for the hubs and my chicken)
3/4 cup flour
1/2 tablespoon salt
1/2 cup milk
6 tablespoons olive oil
12 oz bowtie pasta
10 oz Philadelphia Cooking Cream (Italian Cheese and Herb)
2 cans Cream of Chicken soup
1 cup chicken broth
1/2 cup milk

Cooking Directions:
1. Start by boiling a large pot of water for your pasta. Let the pasta cook while you prepare and cook the chicken. Place the chicken in a ziplock bag and use a meat mallet to pound the chicken flat. Then cut eat chicken breast in half.

2. Crush the cornflakes, either in a food processor or like i did - on a plate and I crushed them with my hands (you gotta have a little fun while you're cooking and the best way to do that is by getting messy!). Mix together the salt and flour in a pan. Dredge the chicken in the flour, making sure each piece is thoroughly coated. Place the chicken in the freezer for about 5 minutes (I had never done this before when coating my chicken, but it's genius! it helps the flour stick to the chicken and prevent it from caking off in the next step).

3. Dredge the chicken in the 1/2 cup milk. In another pan (or plate) dredge the chicken in the crushed corn flakes, again making sure each piece is thoroughly coated.

4. Add the oil to a hot skillet. Place each chicken breast in the skillet and sprinkle with a little salt and pepper. Cook on either side for about 5 minutes or until either side is golden brown. Then reduce to medium heat and cover, allowing the chicken to cook for about another 5 minutes.

5. By this time the pasta should be ready to drain. Once the chicken is cooked, remove it from the skillet and place on a plate. Using the same skillet, whisk together the Philadelphia Cream, Cream of Chicken soup, chicken broth, and milk over medium heat for a few minutes until sauce is formed.

6. Lastly you can either cut the chicken into strips and place on top of the pasta and sauce, or you can serve it on the plate alongside your pasta.

(photo curtesy of: Jamie Cooks It Up!)


This may sound like a lot of work, but it really wasn't too bad and I think it only took me a bout 30 minutes and we were ready to eat. And I am not lying when I say this is the best pan fried chicken that I have ever tasted. It was seriously amazing. I couldn't get enough, I had to go back for seconds (aka eat some of the hubs!). I think that it is the cornflakes. They add great texture and a little bit of sweetness. Either way, this is definitely the only way I'm making pan fried chicken from here on out.

Enjoy!

Monday, March 5, 2012

Creamy Taco Pasta

Let me first just say, I would loose my head if it wasn't attached. Seriously! I got a much needed new pan for Christmas that I was SO excited about... and then left it in Georgia! For the past two months, every time I've cooked something all I could think about was how much easier it would be if I had that darn pan. So on a quick weekend treck up to the home state I made sure that I came back to the swamp with my pan. And the other night I finally got to break it in.

I was about to prepare supper for the night with a recipe for a taco pasta I had found on Pinterest and realized that I had already tried it. And while it was good, it was lacking a little something. Not wanting to make the same mistake again I started searching for similar dishes with the ingredients I had on hand. And what I came up with was a little conglomeration of all the different ones I read.

Creamy Taco Pasta

Cooking Ingredients:
1 pound ground beef
2 cups uncooked pasta (I used Rotini but any small pasta will work)
1 packet taco seasoning
1 tablespoon sour cream
1 tablespoon cream cheese
1/4 cup salsa
1/4 cup heavy cream
finely shredded cheddar cheese

Cooking Directions:
1. Brown meat in a large skillet while cooking pasta according to package directions.

2. Add taco seasoning to meat (if you like it a little 'saucier' add 1/4 cup of water too). Add in cream cheese, sour cream and salsa. Allow the cream cheese to melt and stir all ingredients together.

3. Drain pasta and add to meat. Stir in 1/4 cup cream.

4. Serve topped with cheese.


Two great things about this meal. 1. It only takes about 20 minutes to make. 2. It only uses two dishes! It is super yummy and made for great left overs for lunch the next day. And if you love your cheese (like the hubs and I both do) you can sprinkle some in when you add the pasta in addition to topping it off when served.

Oh, and yes, my new pan performed wonderfully! ;)